The dreams page is for you to record your large, life-long goals and aspirations. Don’t be afraid to dream big and set big goals. Even years later when you look back and see that you haven’t accomplished this dream, you’ll still realize that setting the goal puts you in a better direction for growth. In this post, we’ll walk through the basics of how to use the Dreams page. Let’s get started.
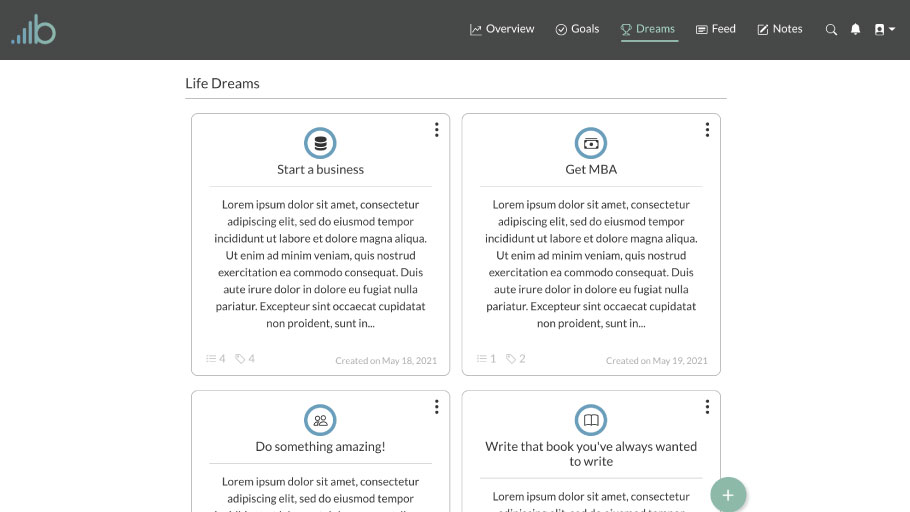
Create a new dream
If you’re creating your first dream you can click the “Create your first dream” button. To create additional dreams you’ll click the green, circular “+” button that will display you’ve created your first dream. After clicking either of these buttons a slide-out will appear from the right which has a few initial options to get you started.
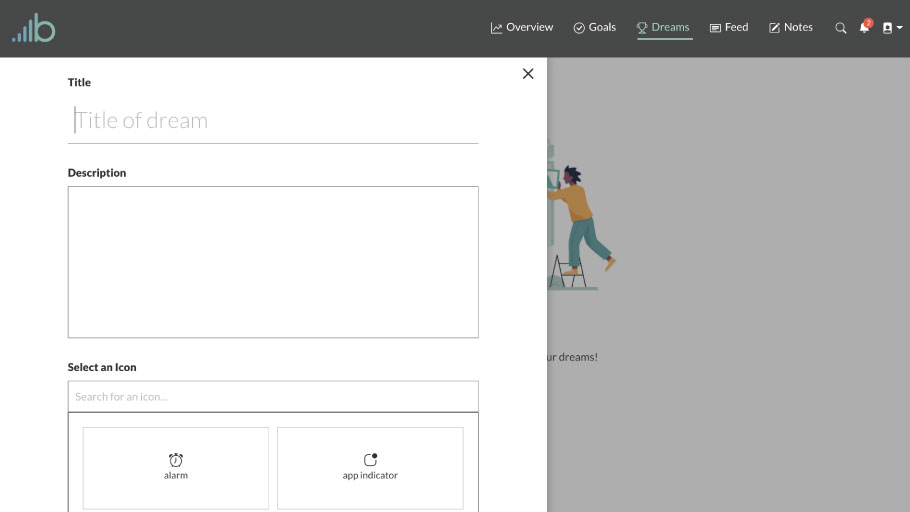
First, fill in the title of the dream. Next, fill in a good description of what it is you’d like to accomplish as well as how you’d like to make it happen. After that, you’ll need to assign an icon to the dream as a visual indicator of what that dream is all about. Finally, you can add tags to the dream which will add a visualization of how many tasks you’ve completed that relate to each tag you’ve added. Then click “Create dream” to finish creating the dream. After you have done that the dream will appear below at the top (if it’s the first dream you’ve created) or at the bottom of all the previous dreams you’ve created.
Add more details to the dream
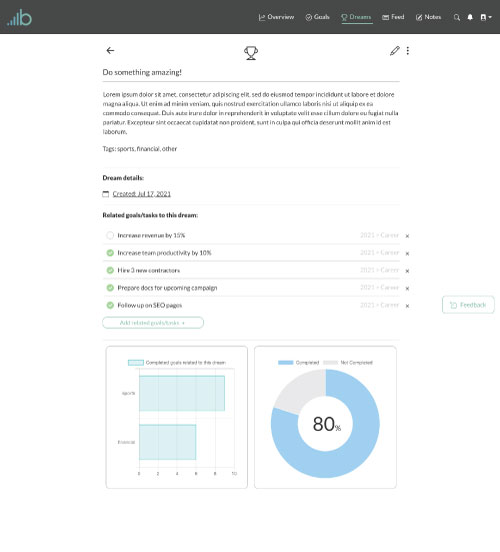
You can add further details to the dream by clicking the dream component or by clicking the “vertical three dots” icon on the top right of the dream component and then clicking the “Edit dream” option. This will take you to a full-screen view of the dream. Here you can add more details to the dream as well as edit details of the dream. To edit details of the dream click the pencil icon on the top right of the page. You can edit the title, description, and tags of the dream.
If you’re currently a premium subscriber you’ll also be able to add related goals/tasks to the dream. To do this click the “Add related goals/tasks ” button. A search input box will appear where you can then search for goals/tasks you’ve created. Then you can add those goals/tasks to the dream by clicking the task in the search dropdown. You’ll notice that as you add related goals/tasks a circle graph will appear showing the percentage of goals/tasks you’ve completed that relate to that dream.
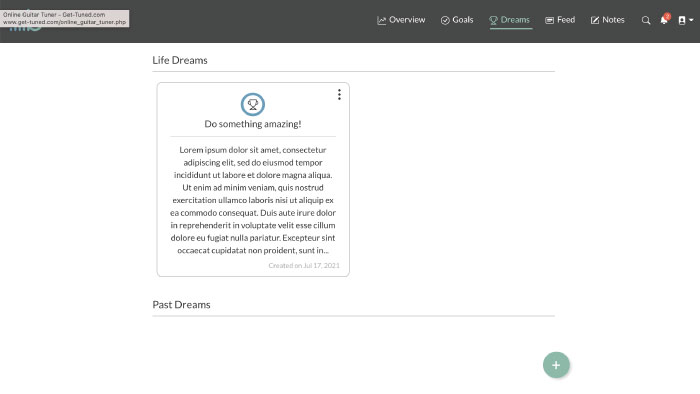
When you’ve completed all of this the dream will look something like this:
More options
There are a few other options to be aware of with the dreams you create. If you click the “vertical three dots” icon on the top right a drop down will appear and will look like this:
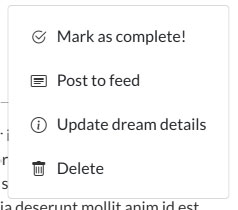
Once you’ve done the work and finally completed your dream, mark it as complete by clicking the “Mark as complete!” option. Confetti will appear and the page will change slightly indicating that the dream has been completed. Note that you don’t have to have all the “related goals/tasks” complete to mark the dream as being completed.
Always keep in mind that with most things you do in the brightyear.io app, you’ll have the ability to share that thing on your social feed, letting all of your connections know about what you’ve completed. Share whatever the current status of the dream is by clicking the “Post to Feed” option in the dropdown. You can also write a post description letting others know more about that dream you’ve created and/or completed.
You can update the dates of the dream by clicking the “Update dream details” button, or by clicking the dates under the “Dream details:” text on the page. You can change the date that you created the dream, and if you’ve accomplished the dream, you can manually change that date too.
Lastly, you can delete the dream by clicking the last “Delete” option. A modal will appear to prompt you if you’re sure you’d like to delete the dream.
And that’s about it! If you have any questions, comments, or suggestions for the Dreams page. Click the “Feedback” button at the bottom of the page to submit some feedback to us.
Enjoy!